

Key Takeaways
Why small gaps cost more than they look
A gap the width of a pencil running the full length of a door frame lets in roughly the same air as leaving a window cracked open an inch. Multiply that across several doors, a handful of windows, and a few pipe penetrations, and the cumulative leakage adds up quickly. As covered in The Real Cost of Ignoring Small Home Repairs, minor openings rarely fix themselves and tend to grow worse over time as frames settle and materials age.
The good news is that air sealing is one of the few home maintenance tasks where the materials cost very little and the labor is genuinely beginner-friendly. No permits are required for caulking or weatherstripping. No specialized tools are needed. The work fits comfortably into a Saturday or Sunday without much disruption to daily life.
For a deeper look at how sealing works alongside insulation, see Insulation, Air Sealing, and Attic Ventilation: How They Work Together. This article focuses on the gaps you can find and fix yourself at ground level.
Finding the drafts before you start
Walk through your home on a cold or windy day and hold a lit candle or incense stick near door frames, window sashes, electrical outlets on exterior walls, baseboards, and anywhere a pipe or wire passes through an outside wall. A flame that flickers or smoke that bends inward points to moving air. Mark each problem spot with a piece of painter's tape so you can return with materials later.
Pay particular attention to these areas:
- The bottom of exterior doors, especially older ones with no door sweep
- The corners of window frames where caulk has cracked or pulled away
- The gap between a window or door frame and the surrounding siding or drywall
- Pipe and conduit penetrations in exterior walls, often found under sinks and behind appliances
- Attic hatch edges, which are frequently overlooked
Use the exhaust fan trick on calm days
On days with little wind, drafts may not move a candle flame at all. Turn on a bathroom exhaust fan and hold your hand near suspect spots around doors, windows, and pipe penetrations. The fan creates slight negative pressure inside, which draws outdoor air in through any unsealed gap and makes it easier to feel the movement.
On very calm days, a draft may not be detectable with a candle. If the weather cooperates, run the exhaust fan in a bathroom and hold your hand near suspect spots: negative pressure inside will pull air in through any open path.
Tools and materials you will need
What you will need
Caulk gun
Applies caulk in a controlled bead along window frames, door casings, and pipe penetrations.
Paintable latex or silicone caulk
Seals fixed gaps between frames and surrounding surfaces where parts do not move against each other.
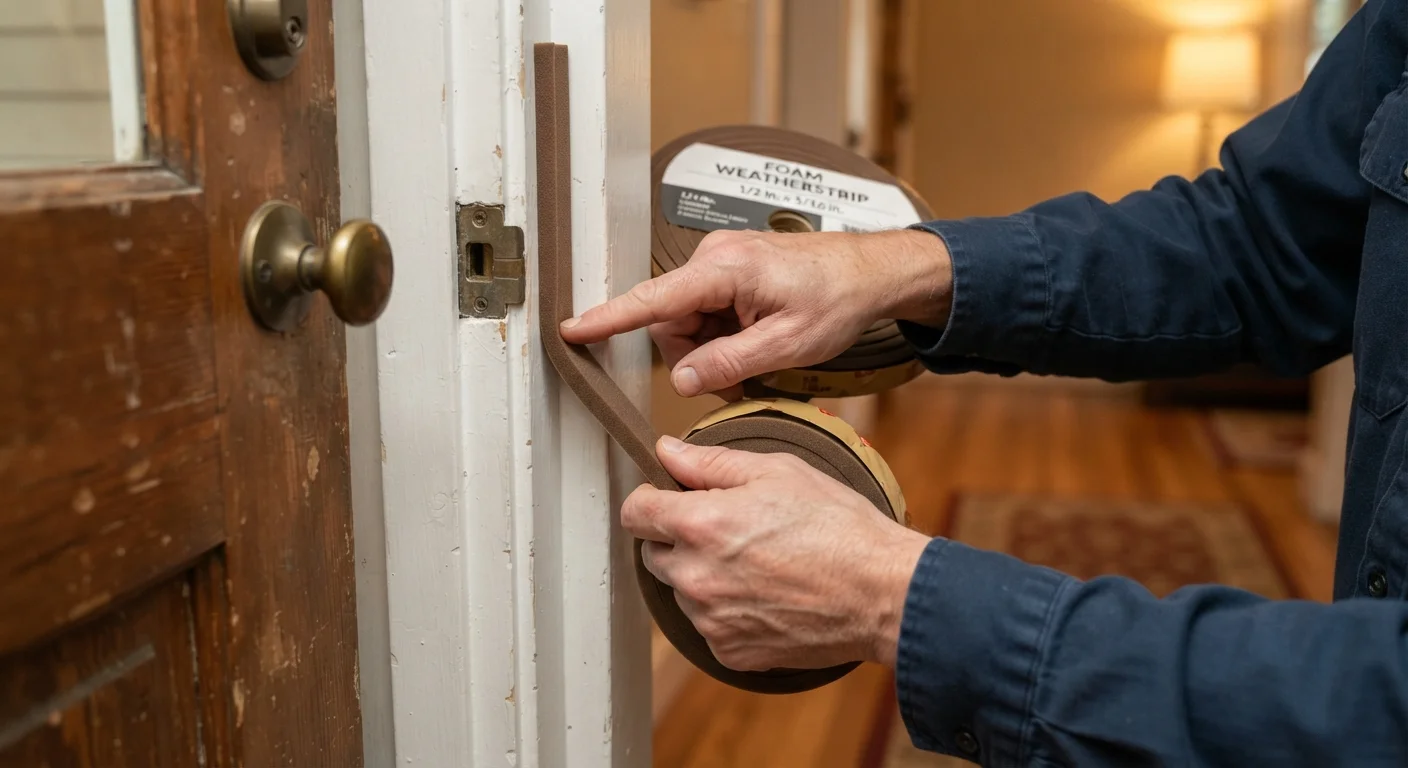
Self-adhesive foam weatherstripping
Compresses to fill the gap between a door or window sash and its frame when the door or window closes.
Door sweep
Attaches to the bottom of an exterior door to block the gap between the door and the threshold.
Foam backer rod
Fills wide or deep gaps before caulk is applied, reducing the amount of caulk needed and improving the seal.
Expanding spray foam
Fills irregular voids around pipe and wire penetrations in exterior walls where caulk cannot reach.
Utility knife
Removes old, cracked caulk and trims excess foam after it cures.
Step-by-step: sealing doors, windows, and penetrations
Remove old caulk from windows and door frames
Use a utility knife or stiff putty knife to score and peel away any existing caulk that has cracked, pulled away, or become brittle. Press firmly along the bead and work in short strokes. Wipe the surface clean with a dry cloth. Caulk bonds poorly to dust, old residue, or moisture, so a clean surface is worth the extra five minutes.
Apply fresh caulk to fixed gaps
Load your caulk tube into the gun and cut the tip at a 45-degree angle to produce a bead slightly narrower than the gap you are filling. Hold the gun at a consistent angle and draw it smoothly along the joint in one pass. Smooth the bead with a damp finger or a caulk tool within two minutes before a skin forms. For gaps wider than about 3/8 inch, press foam backer rod into the gap first so the caulk does not sag.
Replace or add weatherstripping on doors and windows
Peel off any existing foam tape that has compressed flat or lost its adhesion. Clean the channel or frame surface with rubbing alcohol and let it dry. Cut self-adhesive foam or V-strip weatherstripping to length and press it firmly into the door stop or window channel so it contacts the sash squarely when closed. Close the door or window to test: you should feel light resistance, not a hard stop.
Install or replace a door sweep
Slide a piece of paper under the closed exterior door. If it moves freely, the threshold gap needs a sweep. Most door sweeps attach with two screws to the interior face of the door bottom. Hold the sweep flush against the threshold surface and mark the screw holes, then predrill and fasten. The rubber or vinyl flap should brush lightly against the threshold without binding when the door opens or closes.
Seal pipe and wire penetrations
Under sinks and behind appliances, look for gaps where supply lines, drain pipes, or electrical conduit pass through an exterior wall. Small gaps (under 1 inch) can be filled with a bead of caulk. For larger voids, use minimal-expanding spray foam, which is less aggressive than standard foam and less likely to deform the pipe or wall material. Wear gloves: cured foam is difficult to remove from skin.
Once the work is done, repeat the candle test to confirm each gap is closed. Properly sealed openings should show no flame movement. For further ways to reduce strain on your heating and cooling equipment after sealing, the guide on Low-Cost Ways to Extend the Life of Your HVAC System covers complementary habits that cost little and pay off over time. These projects are also a practical part of the broader goal of Smart Family Living: small, well-chosen actions that reduce household costs without requiring large investments.