

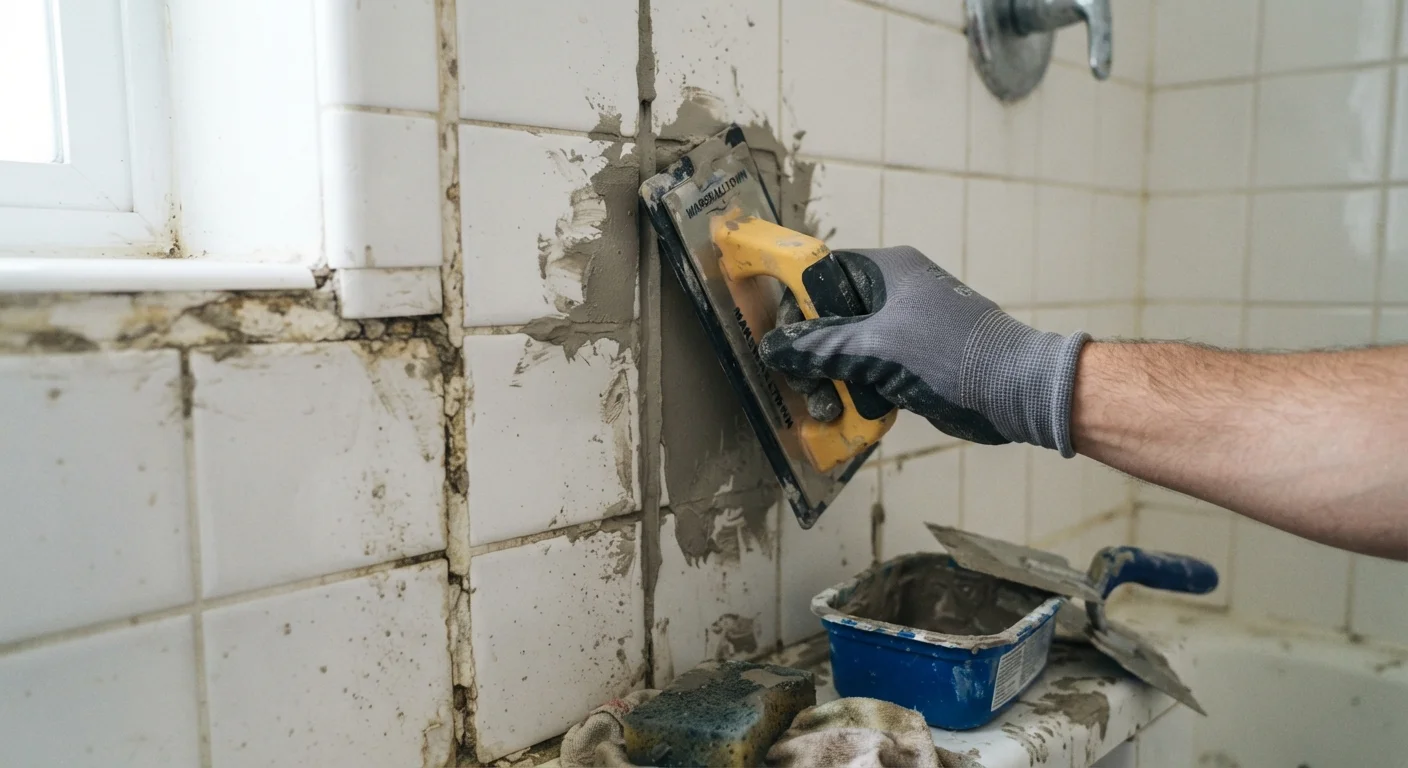
Key Takeaways
Why grout repairs fail before they should
Grout repair is one of the more accessible DIY tile jobs: the materials are inexpensive, the tools are simple, and the task does not require a licensed trade. Yet a large share of DIY grout repairs fail within a few weeks, not because the homeowner chose a bad product, but because the preparation and technique steps that determine adhesion and cure quality were skipped or rushed.
Understanding exactly where repairs go wrong makes it straightforward to get them right. The mistakes below cover the full sequence, from removing old material to applying a sealer, so you can avoid repairing the same joint twice. If you are thinking about grout repair in the context of broader home upkeep, a first-time homeowner maintenance guide can help you prioritize which repairs to tackle first.
The most common grout repair mistakes
Each mistake below follows the same pattern: what goes wrong, why it happens, and the specific action that prevents it.
Skipping removal of the old grout and applying new grout on top of it.
Why it happens: Removing grout is tedious, and it looks like the new product might fill the gap well enough without full removal.
Mixing grout too wet or too dry, producing a consistency that cracks or crumbles.
Why it happens: Many people eyeball the water-to-powder ratio instead of following the product's instructions, assuming close is good enough.
Failing to dampen the tile joint before applying grout, causing the grout to dry too fast.
Why it happens: The step is rarely mentioned in short video tutorials, so most first-timers skip it.
Wiping away grout haze too aggressively or too soon, pulling fresh grout out of the joints.
Why it happens: The haze left on tile faces looks alarming, and the instinct is to scrub it off immediately.
Choosing a grout color based on the wet mix rather than the cured shade.
Why it happens: Grout looks significantly darker when wet, and many buyers pick a shade at the hardware store based on what is in the bucket.
Skipping the sealer after the grout cures.
Why it happens: Sealing feels like an optional finishing touch rather than a structural part of the repair.
Small grout failures left unaddressed tend to get worse. Water that enters a cracked joint can work behind the tile, loosen the adhesive bed, and eventually require a full tile replacement rather than a simple regrout. Ignoring small home repairs almost always costs more in the end than addressing them promptly.
When DIY is the right call and when it is not
Do not rush the curing window
Most grout products require 24 to 72 hours before light foot traffic and up to 28 days before full sealing. Exposing freshly grouted tile to water or heavy use before it cures fully causes shrinkage cracks and weakens the bond. Read the manufacturer's curing guidance for the specific product you use.
Old grout must come out completely
Applying new grout directly on top of cracked or crumbling grout is the most common reason repairs fail. The old material prevents a mechanical bond, and the new layer will pop loose, often within days. Remove damaged grout to a depth of at least 3/16 inch before applying anything new.
Surface grout repair (cracked, crumbling, or discolored joints on wall tile, countertops, or floor tile in good condition) is genuinely DIY-friendly once the preparation steps above are followed consistently. The job shifts to professional territory when the tile itself is loose or hollow-sounding when tapped, when there is visible water damage or mold behind the wall, or when a large area needs removal and replacement. Those conditions point to a substrate or waterproofing problem that grout alone cannot fix.
The judgment call between DIY and professional help comes up in many home repair situations. The trade-offs involved in DIY plumbing repairs follow a similar logic: simple surface work is usually manageable, but underlying system problems warrant a professional.