

Key Takeaways
Where the money actually goes in a room painting project
A typical room painting project breaks down into four cost categories: paint, applicators (brushes, rollers, trays), prep materials (tape, drop cloths, patching compound), and time. Most people instinctively try to reduce paint cost first, but that is usually the wrong place to start cutting. A gallon of interior paint covers roughly 350 to 400 square feet in one coat on a smooth, properly primed surface. Thin or cheap paint may require a third coat, turning a one-gallon job into a two-gallon job and doubling the paint cost anyway.
Prep materials, by contrast, are genuinely inexpensive relative to the labor they protect. Skipping or skimping on them is one of those hidden project costs that families only notice after the fact, when they are repainting a room that should have lasted five more years.
The sections below walk through each stage of a budget room paint job: what to spend on, what to scale back, and why.
What you will need
Prep work: the step that determines your results
Clean, patched, and sanded walls hold paint longer and look smoother than walls painted over dust or old flaking layers. Fill nail holes and small cracks with lightweight spackling compound, which costs a few dollars for a small tub and goes a long way. Sand patched spots lightly with 120-grit sandpaper once dry. Wipe walls with a damp cloth before painting to remove dust and grease, particularly in kitchens and bathrooms.
Painter's tape is worth buying in a quality version rather than the cheapest roll. Low-adhesion tape that bleeds paint under its edge creates crooked lines that require correction, costing more time than the tape saved in money. Apply tape to trim, outlet covers, and ceiling edges the day before you paint so the adhesive bonds fully.
Mid-range applicators save time and paint
Foam rollers and bargain brushes leave stipple marks and shed fibers into wet paint. A mid-range woven roller cover (around 3/8-inch nap for smooth walls) and a good angled brush distribute paint more evenly and hold more per dip, reducing trips back to the tray. Wash them thoroughly after each use and they will last through multiple projects.
Drop cloths protect floors and furniture. Canvas cloths grip the floor better than plastic sheeting, which slides. If you are painting only one room, a canvas cloth is a reasonable one-time purchase; for a single job, consider that renting versus buying calculation before purchasing specialty items you may rarely use again.
Primer: when it is necessary and when it is not
Primer is a sealer and adhesion promoter applied before paint. On bare drywall, new patches, dark existing colors, or walls with stains (water marks, smoke), primer is not optional. Skipping it over dark colors can mean four or five coats of finish paint to achieve opacity, spending far more on paint than the primer would have cost.
On walls that are already a light, similar color and in good condition, a paint labeled as paint-and-primer-in-one may be sufficient. These formulations are thicker and self-sealing, though they are not a true substitute for a separate primer coat when the surface has real problems. Read the product label honestly against your wall condition before deciding.
One gallon of primer covers roughly the same area as one gallon of paint and costs noticeably less per gallon. For a standard bedroom, one gallon of primer is usually enough.
Patch and sand the walls
Apply lightweight spackling compound to nail holes, small cracks, and dents using a putty knife. Let it dry fully, then sand smooth with 120-grit sandpaper. Feather the edges so the patch blends into the surrounding wall surface. Wipe away dust with a damp cloth.
Apply painter's tape
Run tape along trim, ceiling edges, and around electrical outlets and switch plates. Press the tape edge firmly with a putty knife or credit card to seal it against paint bleed. If possible, apply tape the evening before you plan to paint.
Prime the walls where needed
Roll primer onto walls using a 3/8-inch nap roller for smooth walls or a 1/2-inch nap for textured surfaces. Cut in around edges with a 2-inch angled brush first. One coat of primer is sufficient in most cases. Let it dry for the time recommended on the label before painting.
Apply the first coat of paint
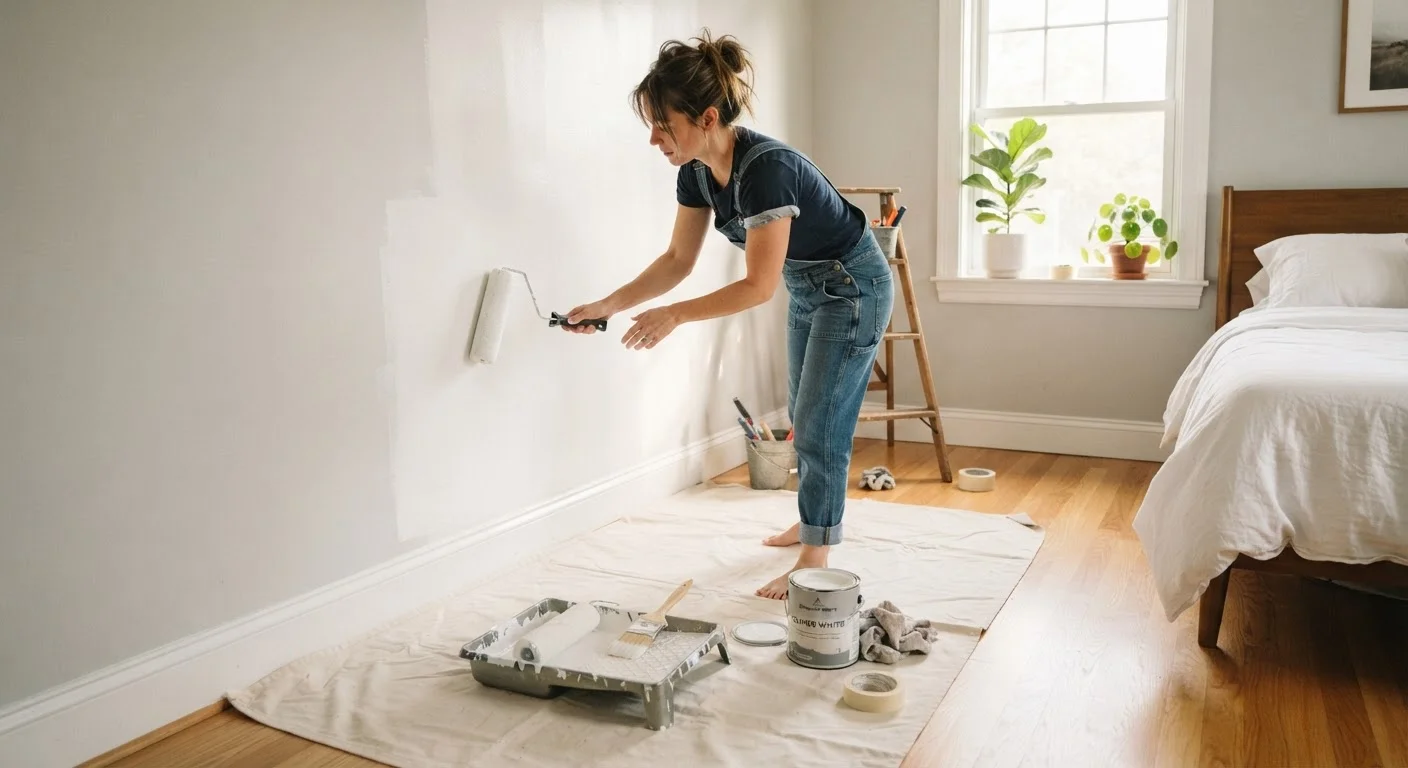
Cut in around edges with an angled brush first, working in 2- to 3-foot sections. Then roll the wall in a W or M pattern to distribute paint evenly before filling in. Work in sections from ceiling to floor, keeping a wet edge to prevent lap marks.
Apply the second coat and remove tape
Wait for the first coat to dry fully (check the paint label for the recommended recoat window, typically two to four hours for latex). Apply the second coat using the same cut-in-then-roll approach. While the second coat is still slightly tacky, pull tape back at a 45-degree angle to leave a clean edge.
Finishing well and keeping leftover paint useful
A second coat is almost always necessary for full, even coverage. Apply it after the first coat is fully dry, which typically takes two to four hours for latex paint under normal indoor conditions. Rushing this step produces streaks and uneven sheen.
Store leftover paint properly. Seal the lid tightly with a rubber mallet, store the can upside down to create an airtight seal at the lid, and keep it at room temperature away from freezing. Properly stored latex paint can remain usable for touch-ups for two or more years. This matters because small scuffs and dings are inevitable, and having matching paint avoids repainting an entire wall. For more on avoiding the compounding cost of deferred maintenance, see our article on the real cost of ignoring small home repairs.